![MTX-Evolution-Logo.png]](https://help.mtx.com/hs-fs/hubfs/MTX%20Audio/MTX%20Brand/MTX-Evolution-Logo.png?height=40&name=MTX-Evolution-Logo.png)
These instructions are for general reference only. Always refer to the specific installation guide included with your amplifier. If you are not comfortable completing the installation yourself, MTX recommends having your amplifier installed by an authorized MTX retailer or car audio specialist. Verify all connections before powering up the system.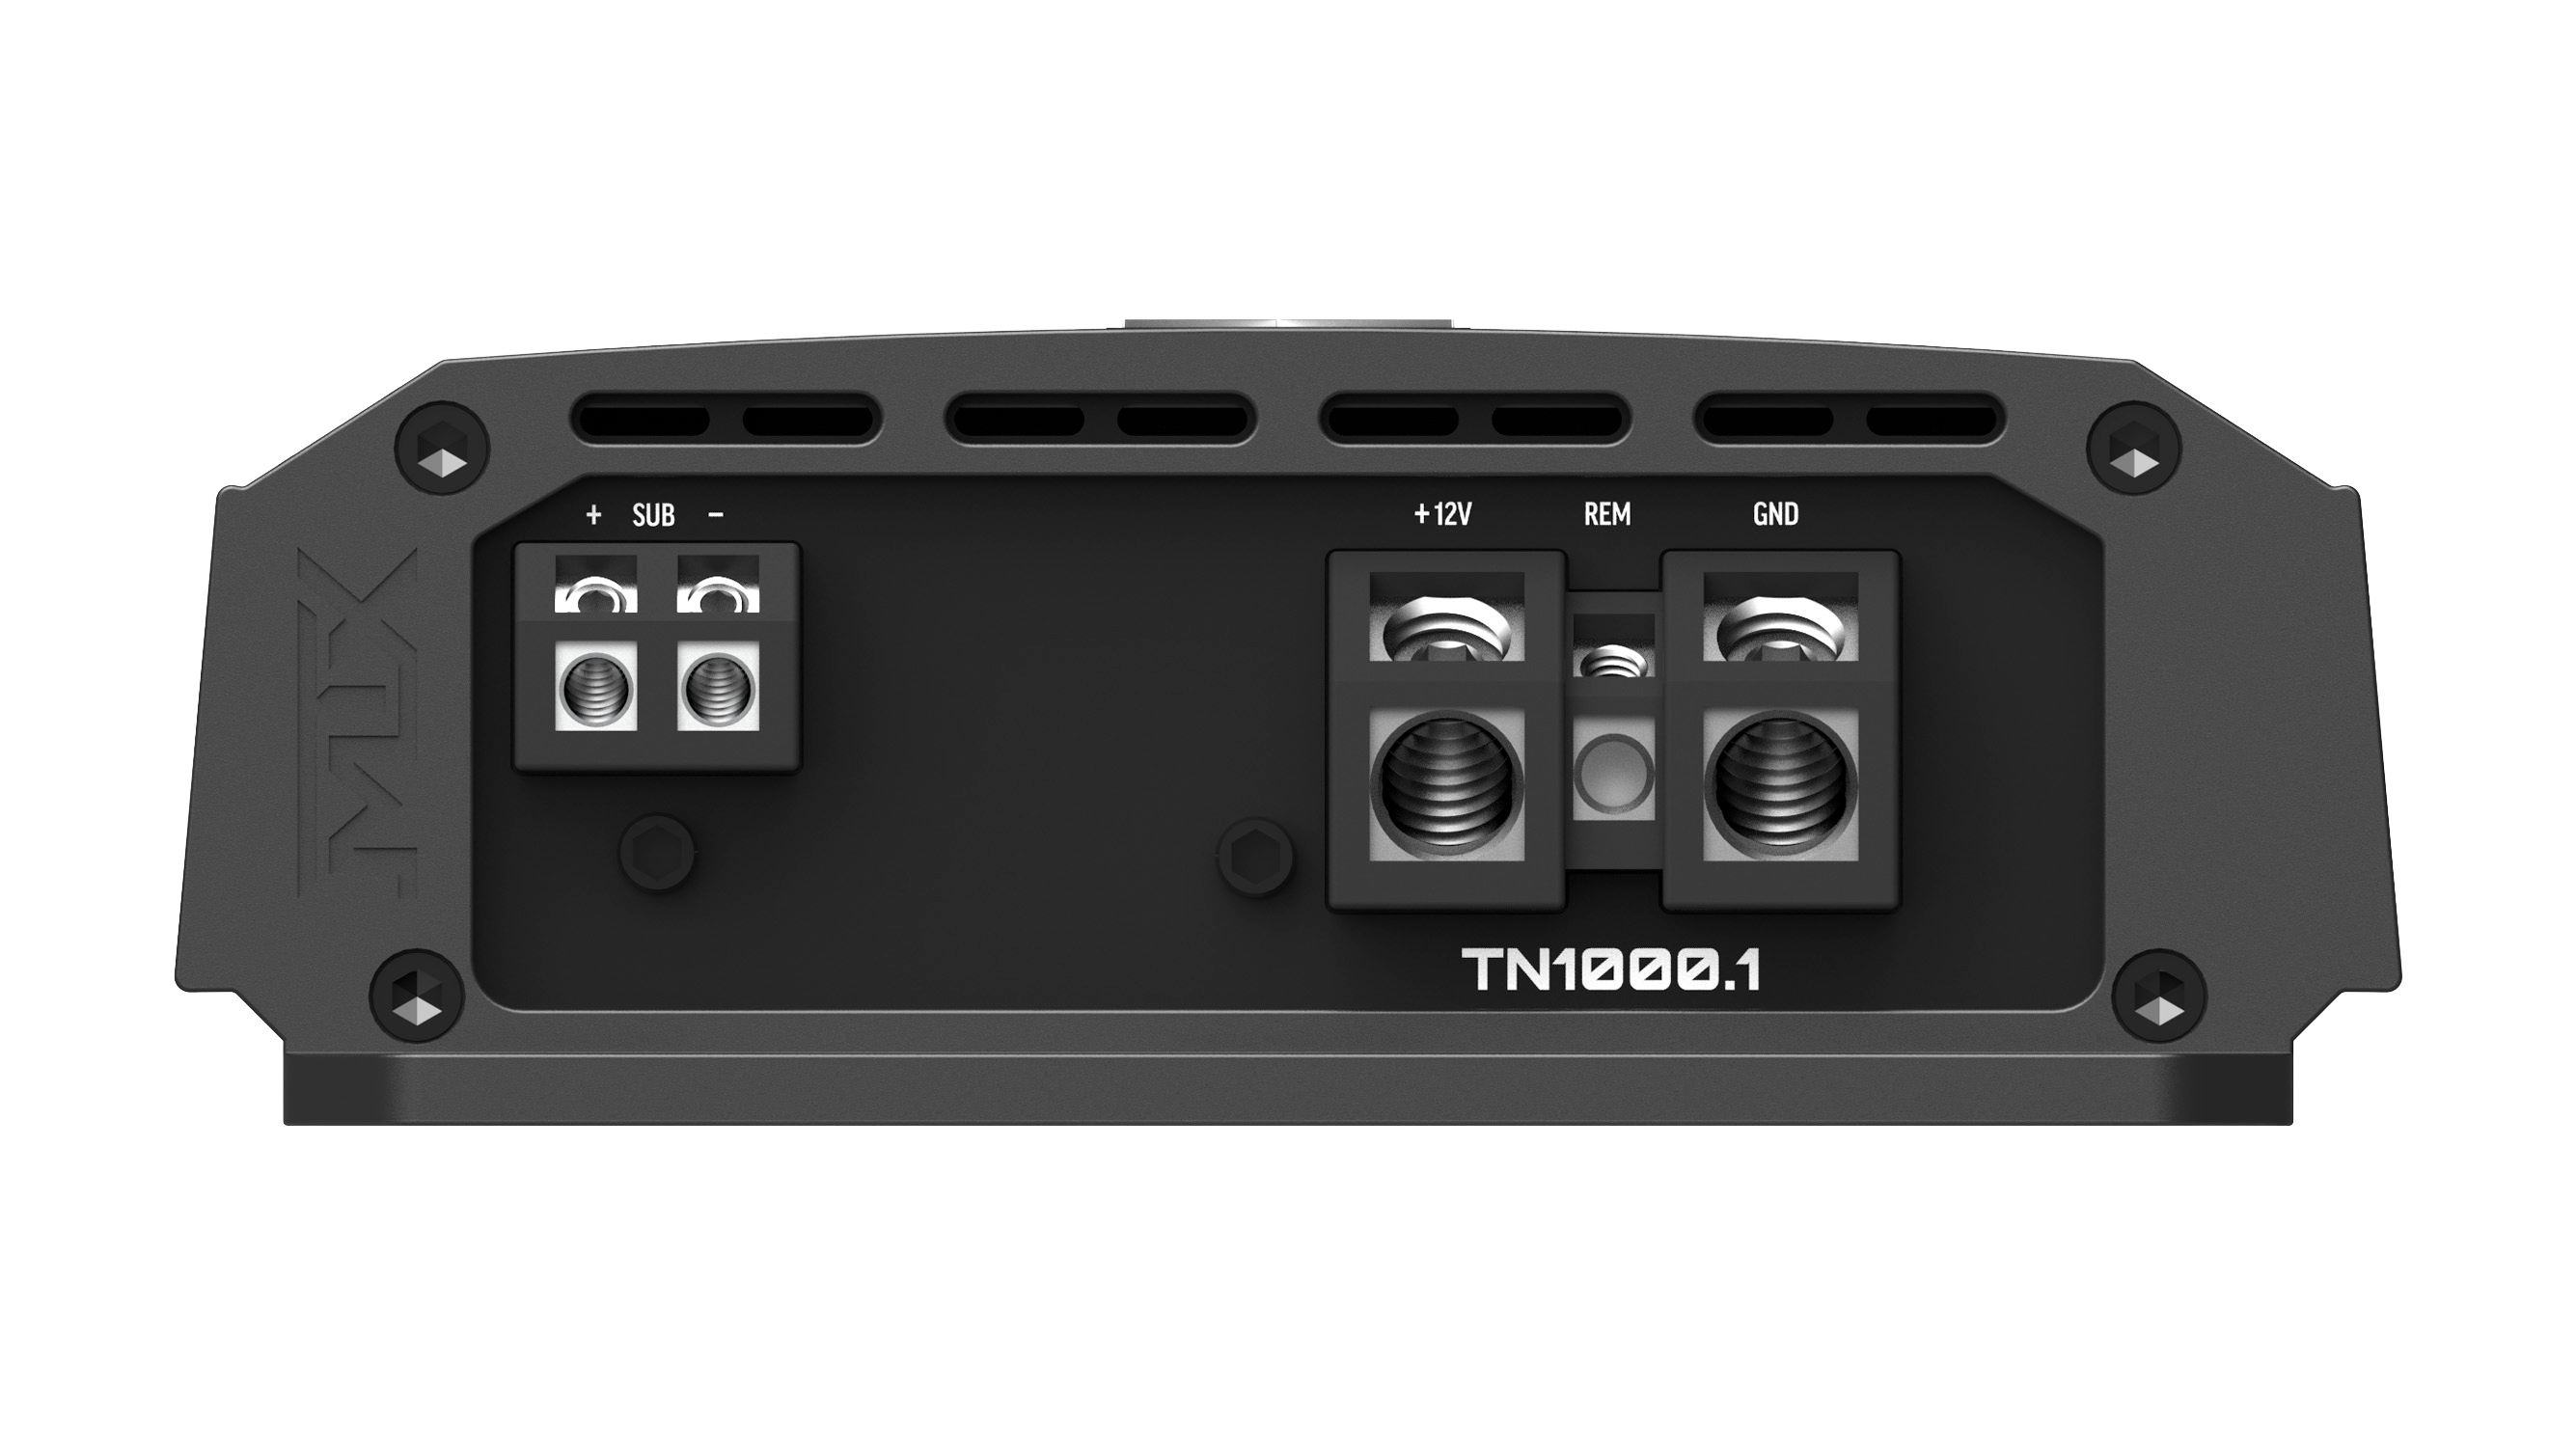
 1. Disconnect the Battery Disconnect the vehicle's negative battery cable before beginning any installation work. This prevents shorts and protects both you and your vehicle's electronics during wiring.
2. Mount the Amplifier Choose a mounting location with sufficient airflow for cooling — trunk floors, under seats, and cargo areas are common choices. Mark the mounting holes from the amplifier footprint. Before drilling, verify that no vehicle wires, gas lines, brake lines, or the gas tank are in the path. Drill and mount the amplifier securely.
3. Run the Power Cable Run a positive (+) power cable from the vehicle's battery, through the firewall using a grommet or firewall bushing to protect the cable from sharp edges, through the vehicle interior to the amplifier's +BATT terminal. Do not connect to the battery yet. Use the correct gauge wire for the amplifier's power requirements — undersized wire is a fire risk.
4. Install a Fuse Near the Battery Install a circuit breaker or inline fuse within 18 inches of the battery. This protects against severe damage in the event of a short circuit or accident. Switch the breaker off or remove the fuse from the holder until all other connections are complete. Then connect the power cable to the positive battery terminal.
5. Ground the Amplifier Locate a solid chassis ground point as close to the amplifier as possible. Remove all paint, dirt, and debris down to bare metal. Attach the ground wire to the chassis at that point and connect the other end to the amplifier's GND terminal. A poor ground is one of the most common causes of amplifier noise and failure — make it solid.
6. Connect the Remote Turn-On Wire Run a remote turn-on wire from the head unit's remote output to the amplifier's REM terminal. This wire tells the amplifier to power on and off with the head unit. If the head unit does not have a dedicated remote turn-on lead, the power antenna lead can be used as an alternative. For more on this, see the remote turn-on wire guide.
7. Connect Signal Cables For maximum performance, connect quality RCA cables from the head unit's outputs to the amplifier's inputs. Route RCA cables away from power cables on the opposite side of the vehicle to minimize noise. If the head unit has no RCA outputs, use a line output converter (LOC) to convert speaker-level output to RCA level. Some MTX amplifiers have built-in speaker-level inputs, eliminating the need for an LOC.
8. Connect Speakers or Subwoofer Connect speaker wire from the amplifier's speaker output terminals to your speakers or subwoofer using the correct gauge wire. Ensure your wiring configuration results in the correct final impedance and that all speaker connections are in phase (positive to positive, negative to negative).
9. Final Check and Power Up Double-check every connection from the previous steps — power, ground, remote, signal, and speakers. Once verified, reconnect the vehicle's negative battery cable, switch the circuit breaker on or reinstall the fuse, and power up with the volume set low. Be ready to cut power quickly if anything sounds wrong.
10. Tune the Amplifier Start with all amplifier controls turned fully down. Adjust settings in this order:
1. Disconnect the Battery Disconnect the vehicle's negative battery cable before beginning any installation work. This prevents shorts and protects both you and your vehicle's electronics during wiring.
2. Mount the Amplifier Choose a mounting location with sufficient airflow for cooling — trunk floors, under seats, and cargo areas are common choices. Mark the mounting holes from the amplifier footprint. Before drilling, verify that no vehicle wires, gas lines, brake lines, or the gas tank are in the path. Drill and mount the amplifier securely.
3. Run the Power Cable Run a positive (+) power cable from the vehicle's battery, through the firewall using a grommet or firewall bushing to protect the cable from sharp edges, through the vehicle interior to the amplifier's +BATT terminal. Do not connect to the battery yet. Use the correct gauge wire for the amplifier's power requirements — undersized wire is a fire risk.
4. Install a Fuse Near the Battery Install a circuit breaker or inline fuse within 18 inches of the battery. This protects against severe damage in the event of a short circuit or accident. Switch the breaker off or remove the fuse from the holder until all other connections are complete. Then connect the power cable to the positive battery terminal.
5. Ground the Amplifier Locate a solid chassis ground point as close to the amplifier as possible. Remove all paint, dirt, and debris down to bare metal. Attach the ground wire to the chassis at that point and connect the other end to the amplifier's GND terminal. A poor ground is one of the most common causes of amplifier noise and failure — make it solid.
6. Connect the Remote Turn-On Wire Run a remote turn-on wire from the head unit's remote output to the amplifier's REM terminal. This wire tells the amplifier to power on and off with the head unit. If the head unit does not have a dedicated remote turn-on lead, the power antenna lead can be used as an alternative. For more on this, see the remote turn-on wire guide.
7. Connect Signal Cables For maximum performance, connect quality RCA cables from the head unit's outputs to the amplifier's inputs. Route RCA cables away from power cables on the opposite side of the vehicle to minimize noise. If the head unit has no RCA outputs, use a line output converter (LOC) to convert speaker-level output to RCA level. Some MTX amplifiers have built-in speaker-level inputs, eliminating the need for an LOC.
8. Connect Speakers or Subwoofer Connect speaker wire from the amplifier's speaker output terminals to your speakers or subwoofer using the correct gauge wire. Ensure your wiring configuration results in the correct final impedance and that all speaker connections are in phase (positive to positive, negative to negative).
9. Final Check and Power Up Double-check every connection from the previous steps — power, ground, remote, signal, and speakers. Once verified, reconnect the vehicle's negative battery cable, switch the circuit breaker on or reinstall the fuse, and power up with the volume set low. Be ready to cut power quickly if anything sounds wrong.
10. Tune the Amplifier Start with all amplifier controls turned fully down. Adjust settings in this order:
Need a wiring kit? MTX ThunderLink amplifier wiring kits include power cable, ground cable, remote turn-on wire, RCA cables, speaker wire, fuse, and fuse holder — everything needed for a complete install.
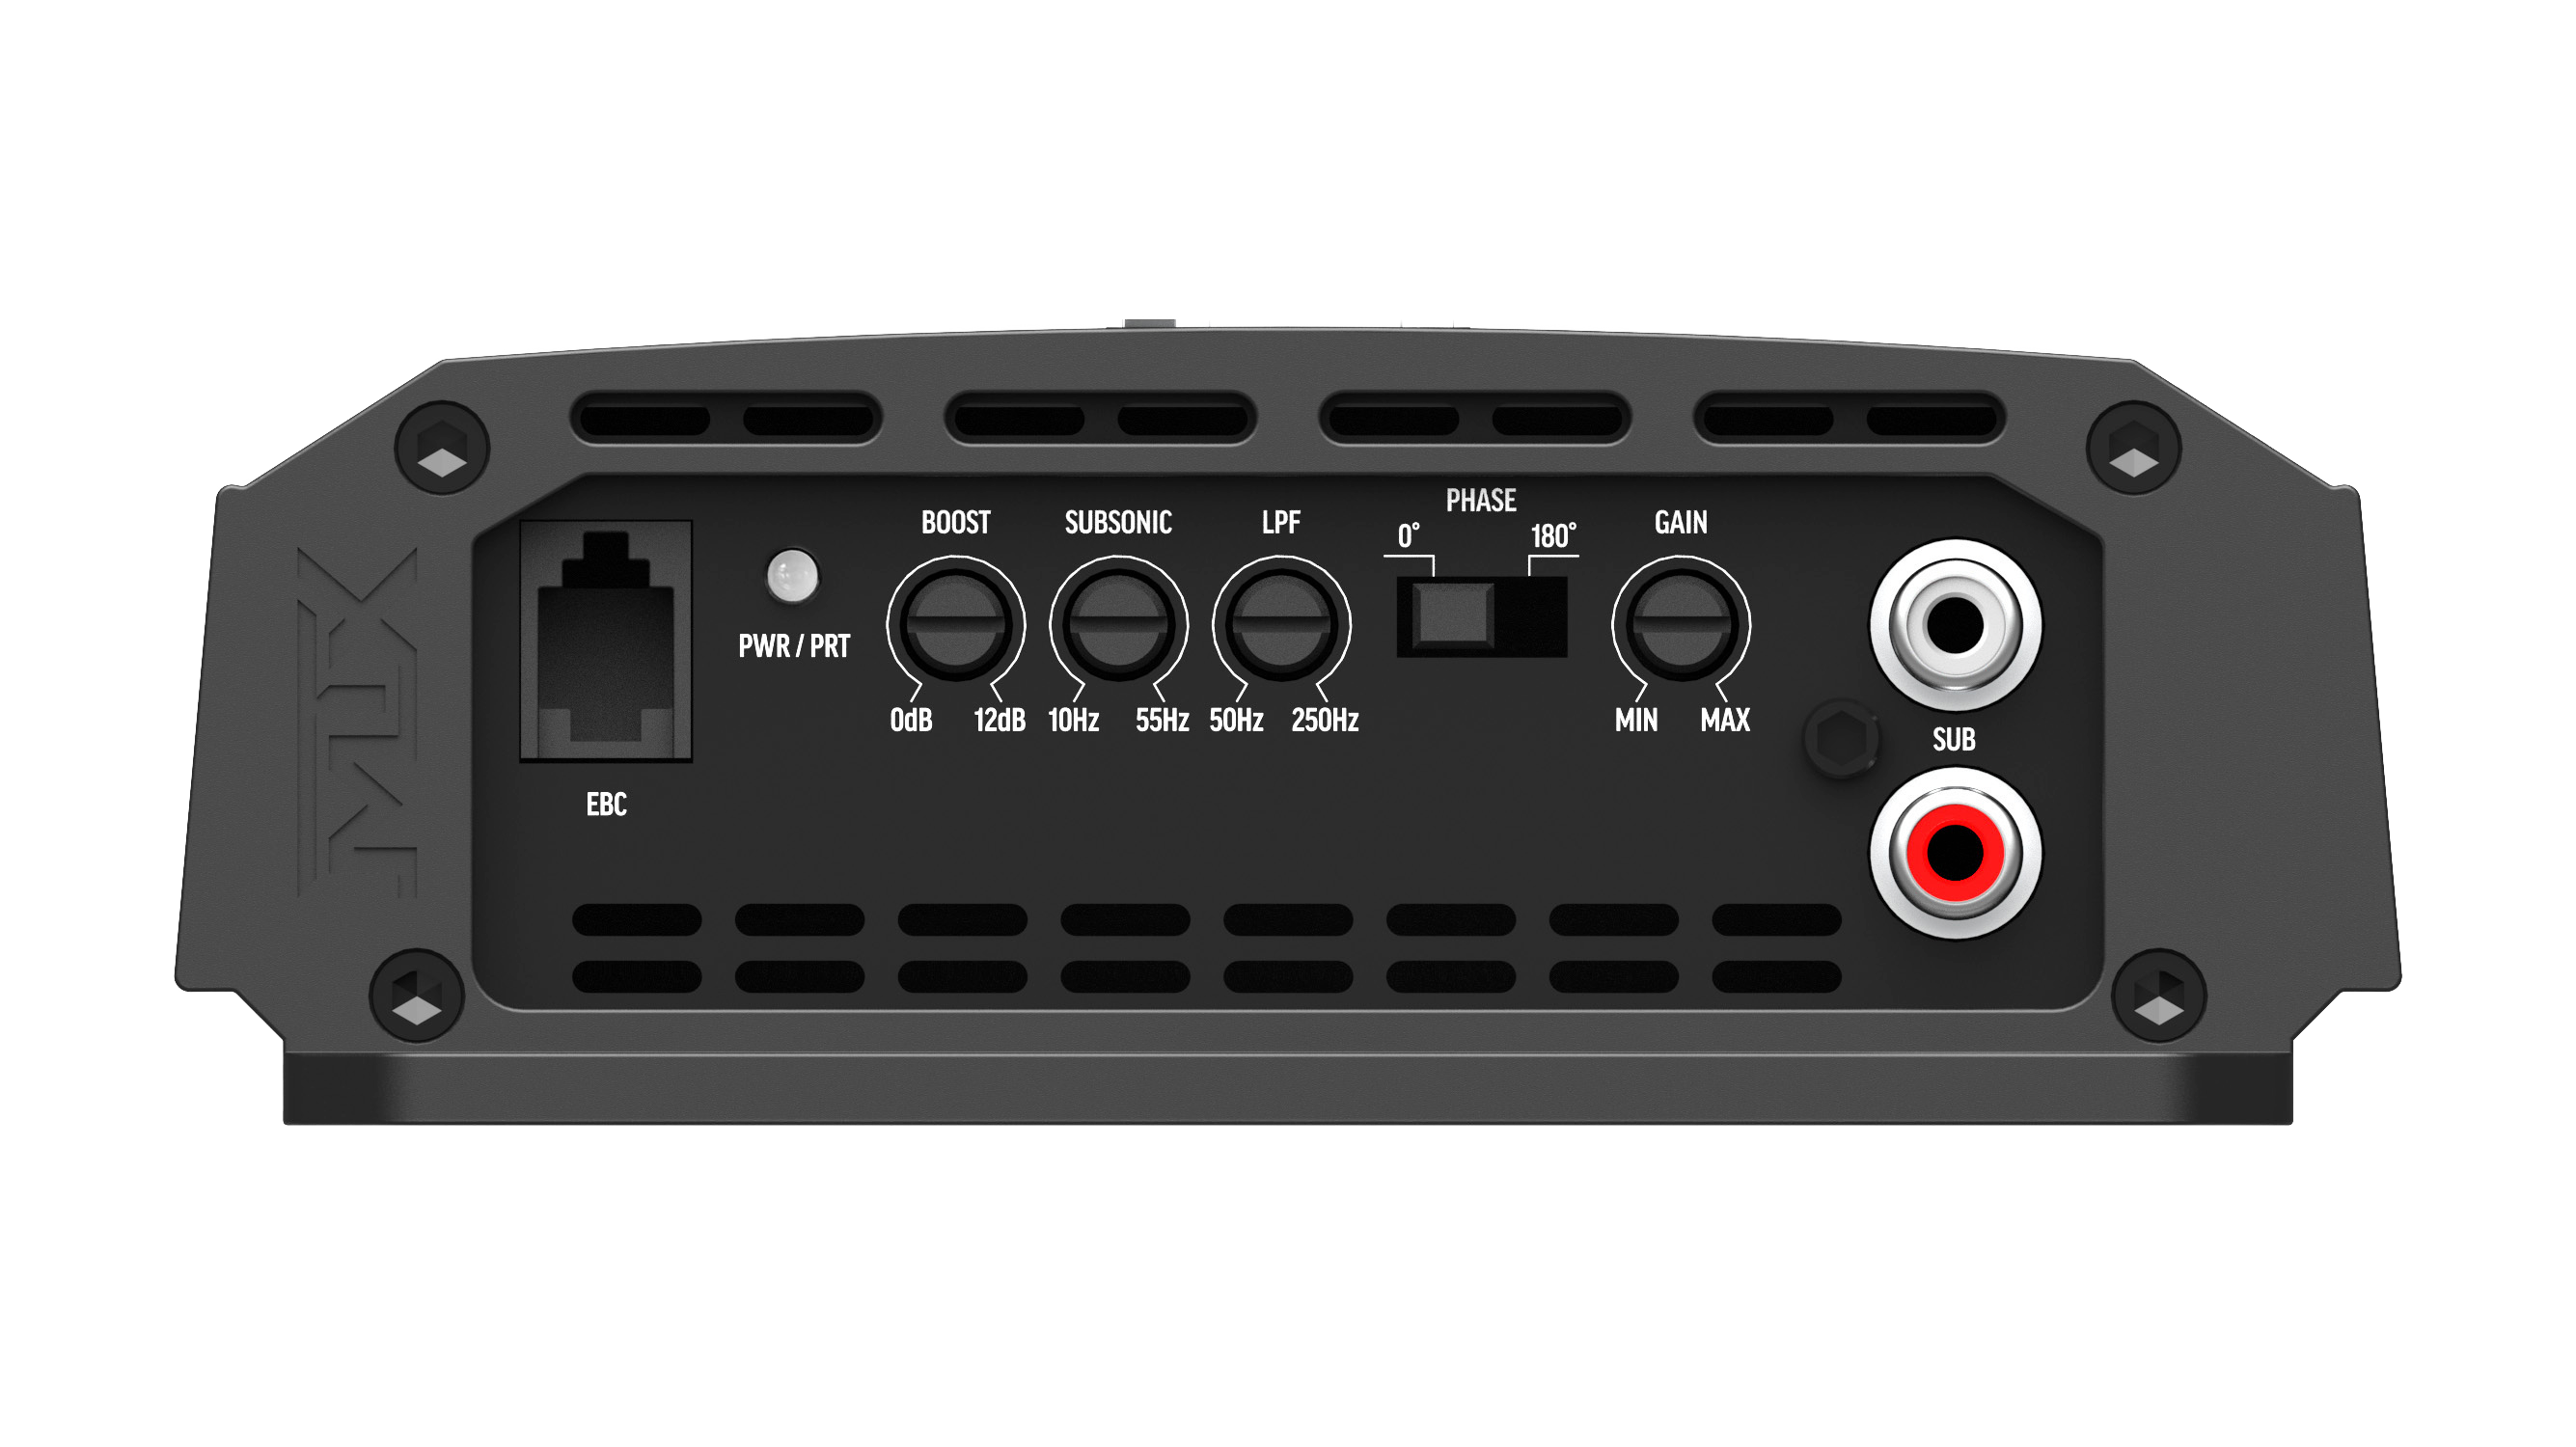
Top: power, ground, remote, and speaker terminals. Bottom: gain, crossover, and filter controls.
- Use a grommet or bushing wherever cable passes through metal
- Route away from speaker wires and RCA cables to avoid noise
- Leave enough slack at the amp end for a clean connection
- Keep the ground wire as short as possible
- Use the same gauge wire as the power cable
- Avoid sharing a ground point with other components if possible
- Gain first — set to match the head unit's output level without clipping. See the amplifier gain setting guide or watch the gain setting video
- Crossover and filter settings second — set the high-pass or low-pass crossover to route the correct frequencies to each speaker
- Bass boost and subsonic filter last — if available, dial these in after gain and crossover are set
Need a wiring kit? MTX ThunderLink amplifier wiring kits include power cable, ground cable, remote turn-on wire, RCA cables, speaker wire, fuse, and fuse holder — everything needed for a complete install.